
Quiet
Cool
Kid
No
Doubt
(blog)


Home Renovation episode 8, The kitchen comes down
Welcome back to another entry from my home renovation series. If you like to read up on everything that you watched in the episode, or you’re just not a video kinda guy, I appreciate you checking out my blog! Today I’m going to discuss the demolition of the kitchen. When looking at this house, I felt like the kitchen was off, but to date, it was the largest kitchen I would have the pleasure of living with, so although, odd, I thought, “Okay, but spacious 👌.” That was until we took apart the floor in the bathroom to realize the entire large, and odd kitchen, had been designed to hold up the second story bathroom. We had never used the upstairs bathroom, not even to wash our hands, so I can’t say if it even was a real bathroom, that has been used, flushed, showered in, but when we took apart the floor we were looking at a very dangerous situation. One that required said ‘structural kitchen,’ to be removed.

Picture of the kitchen from the initial house tour (day one)
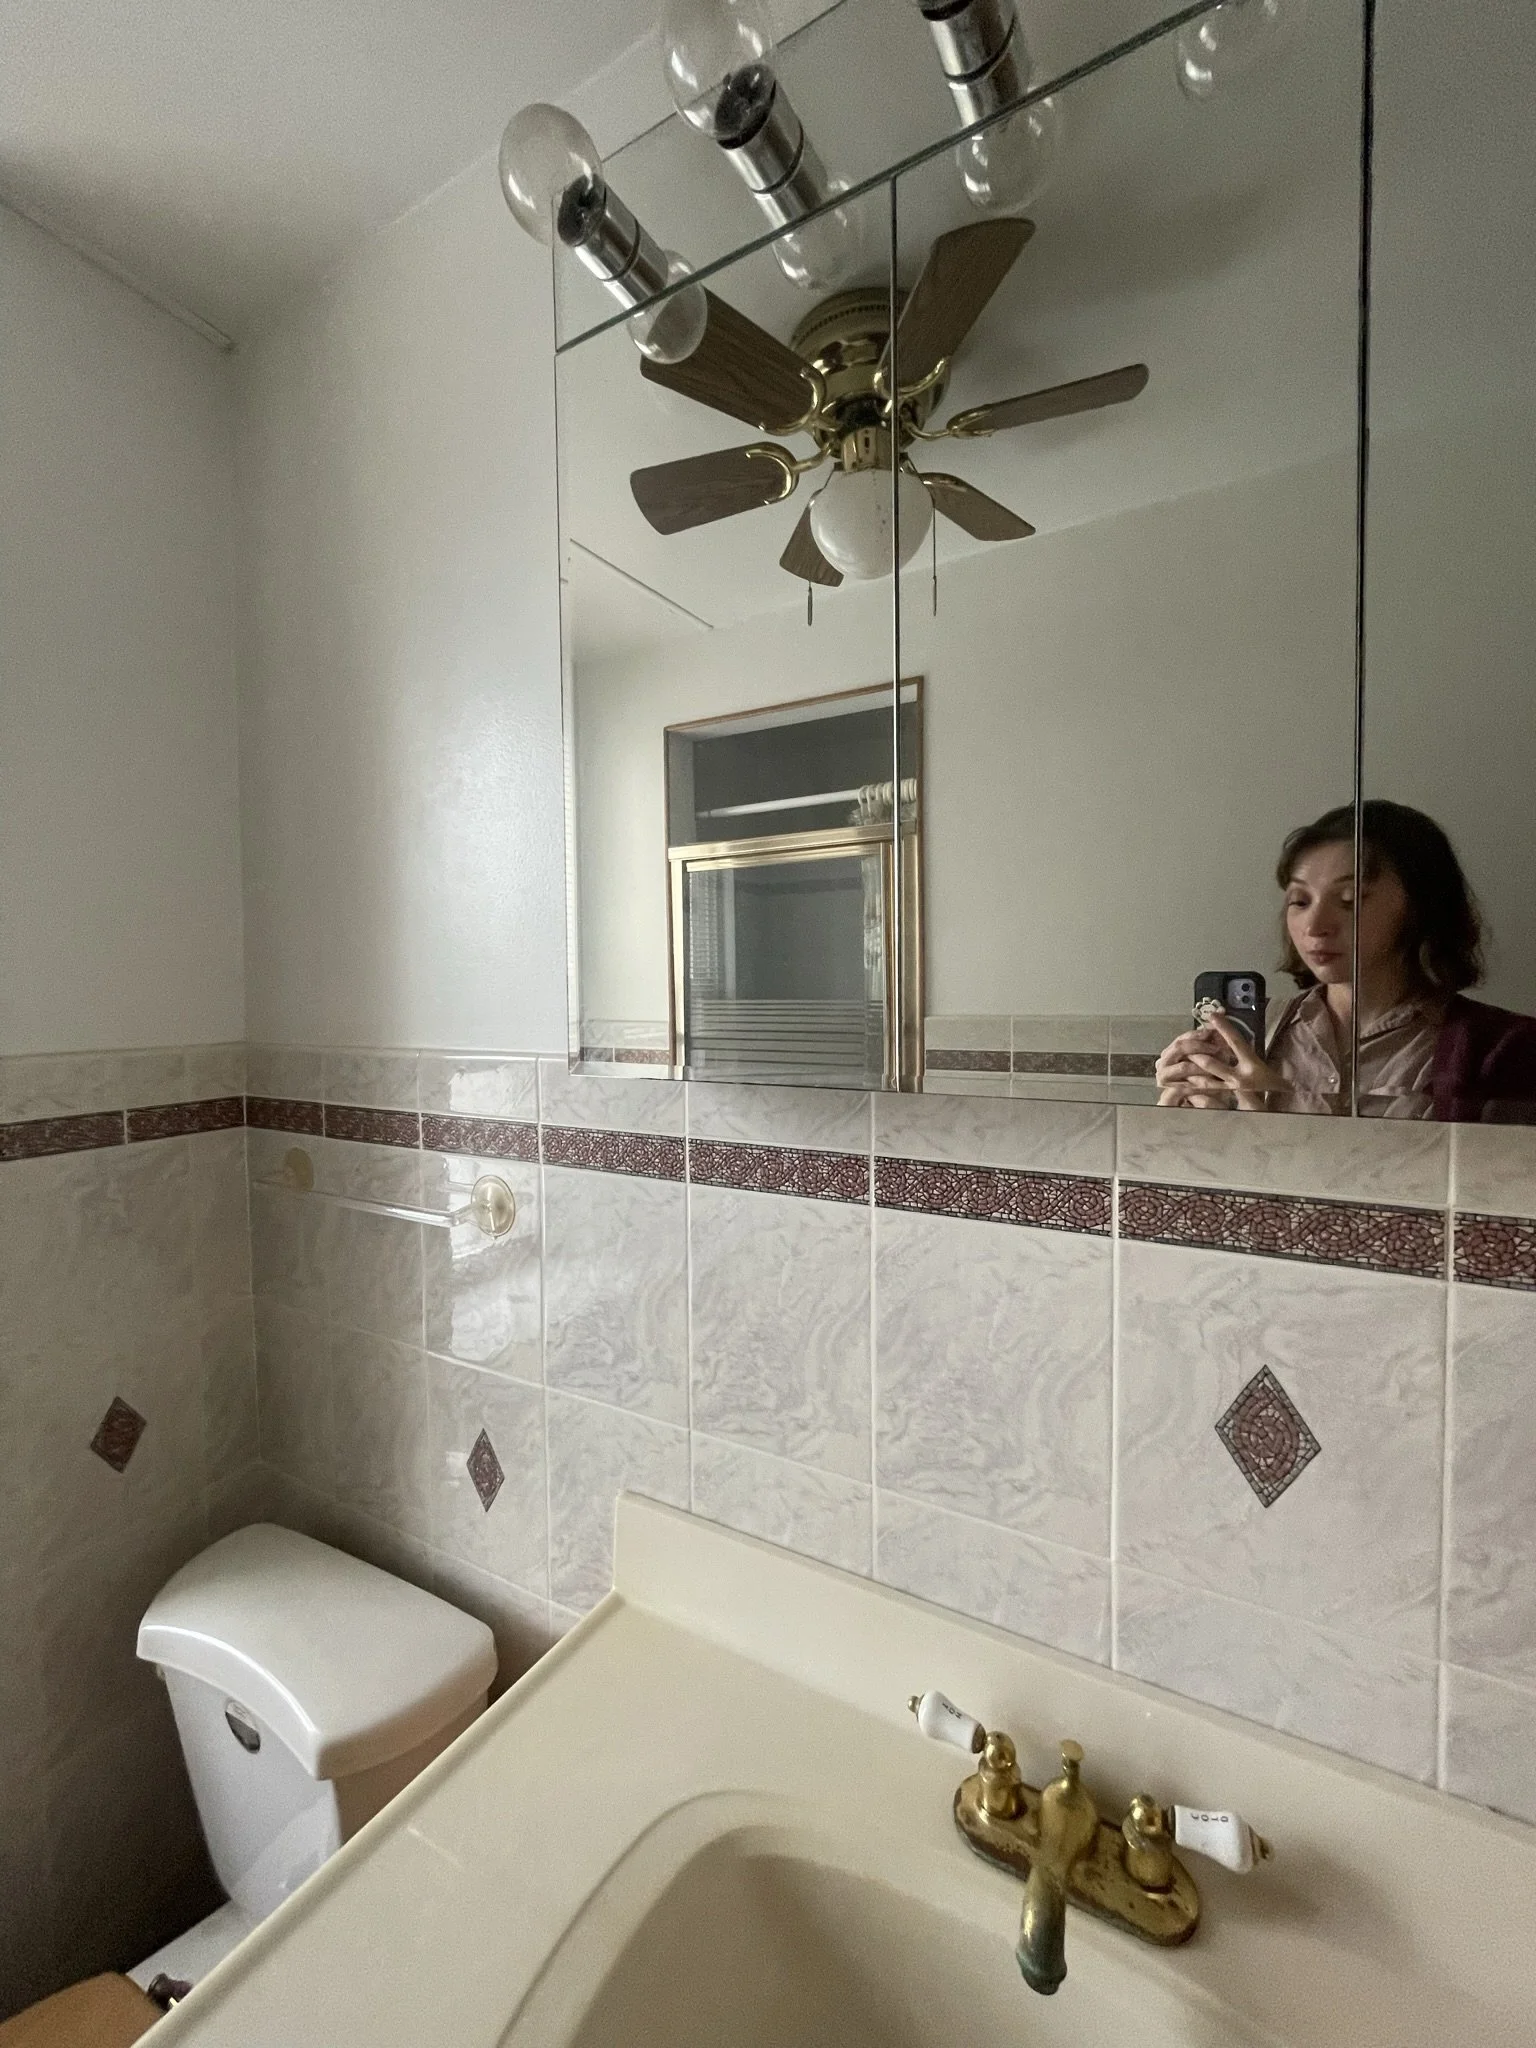
Picture inside the bathroom from our first visit with our real estate agent
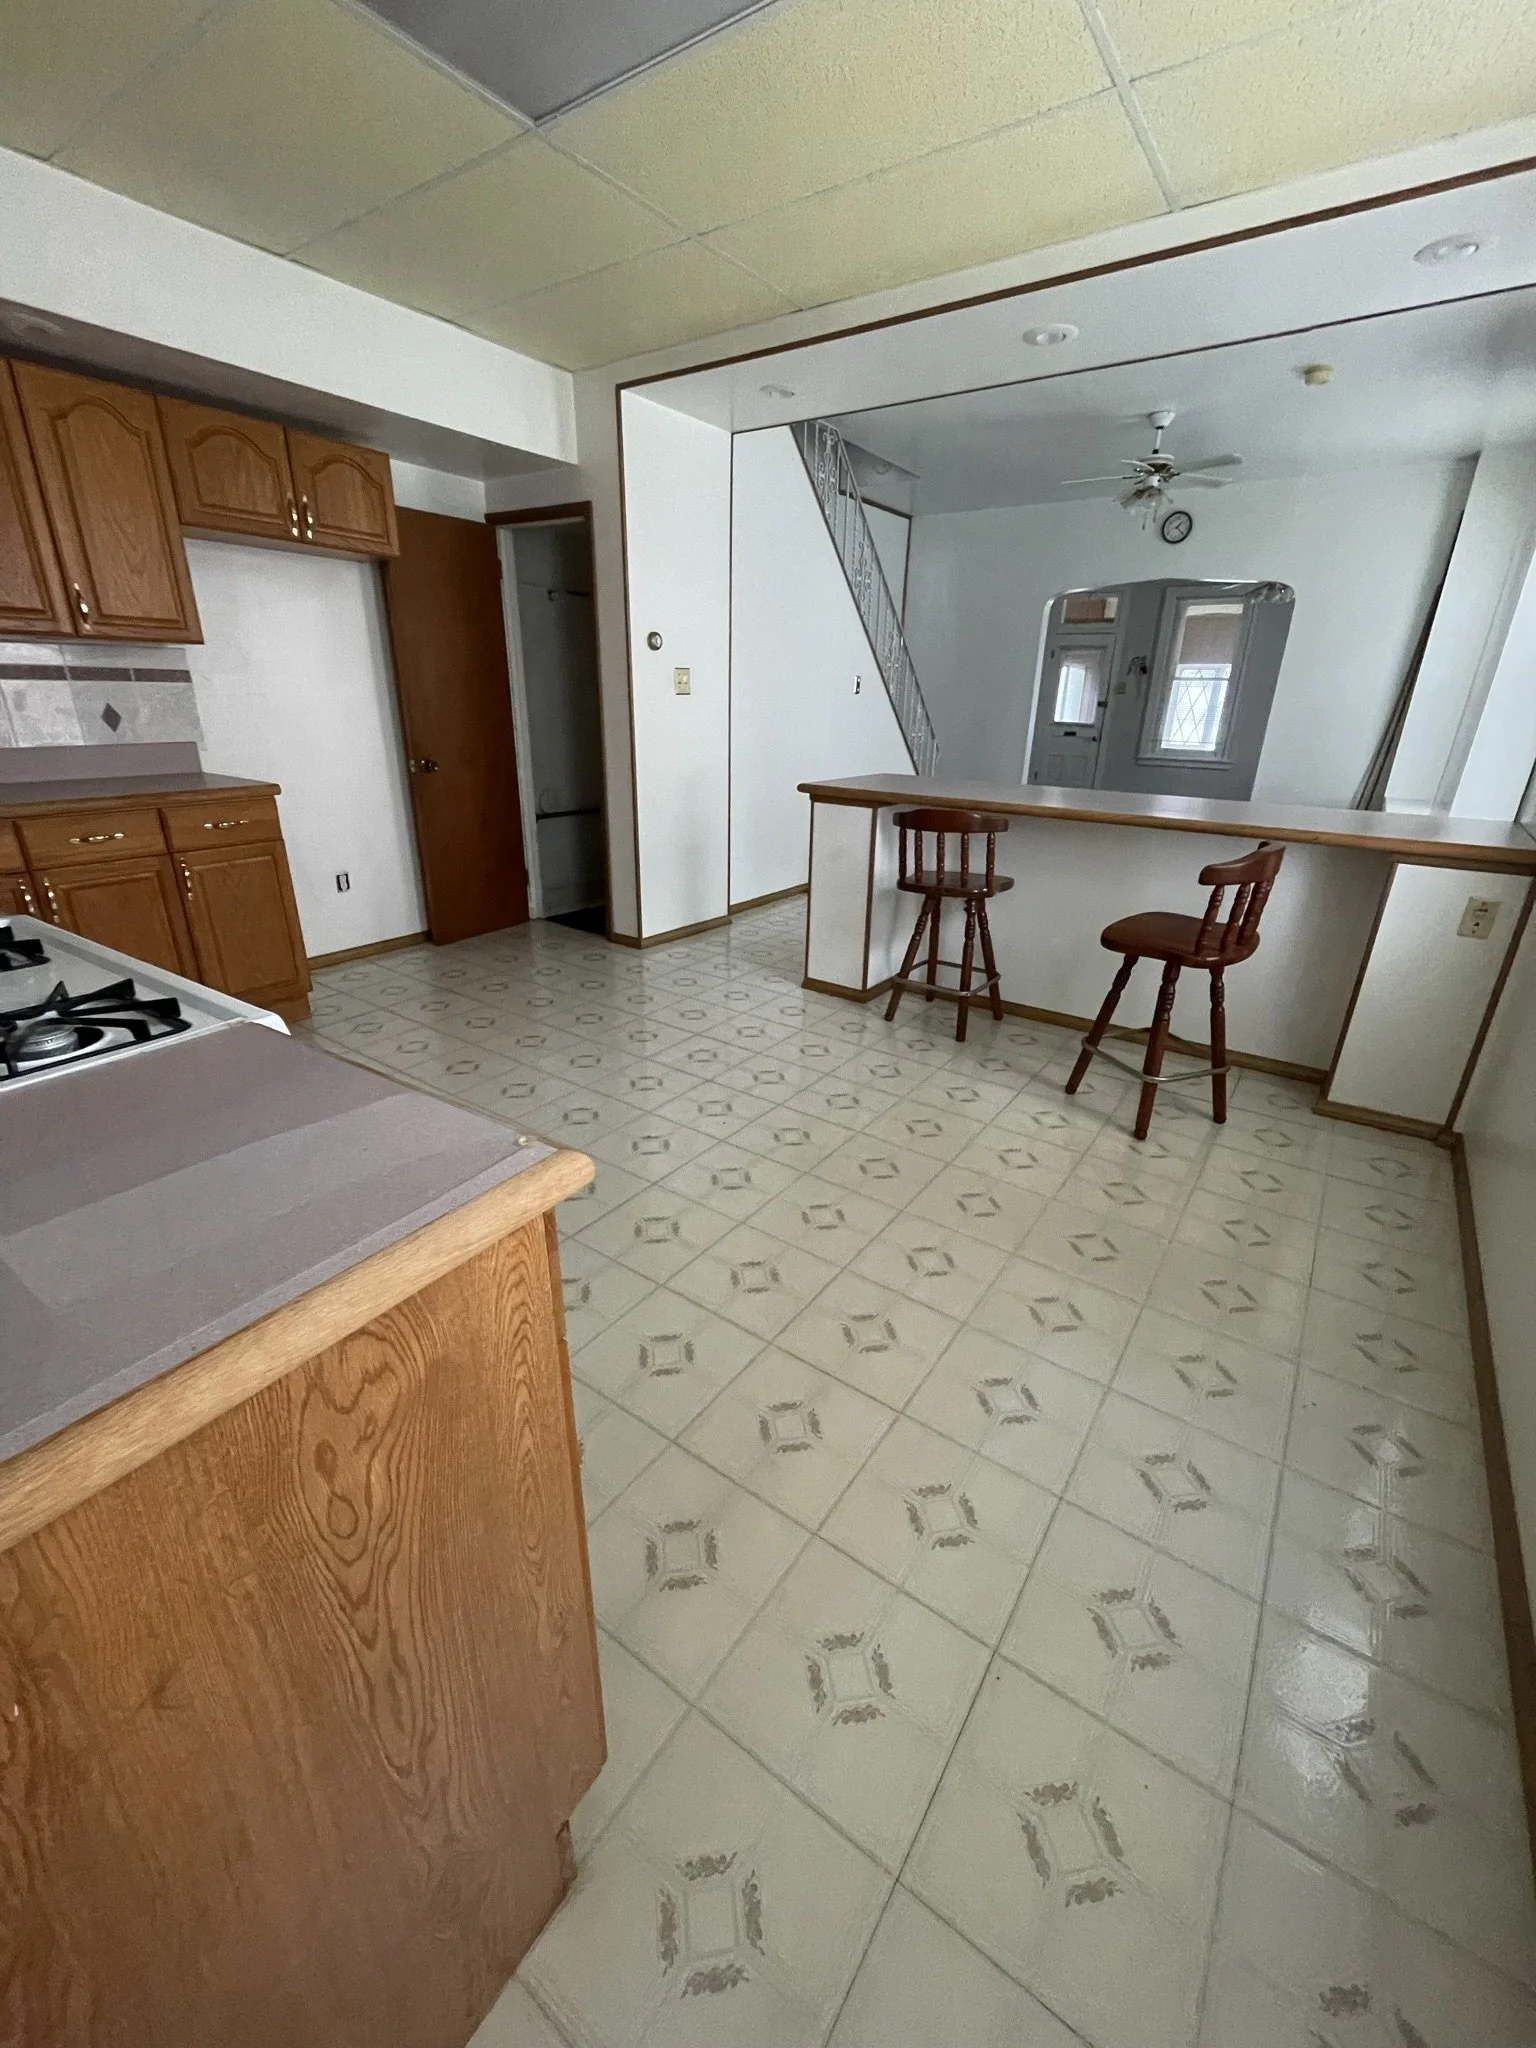
A different view of the kitchen with all of it’s soffit secrets from our first visit.
I’m a broken record at this point, but our intention was always to save the kitchen. The adverage kitchen renovation is somewhere between $10k-$25k in the states, and I wanted to avoid stacking that cost on top of everything else, and suffer through the dated kitchen until we could properly save up in a few years, and address is then. In hindsight that all seems a bit foolish, since we have to take the house down to the studs to replace…well..everything, but when I thought we could keep the kitchen, I was sad to see it go. So we decided to carefully remove everything we could from the kitchen for reuse. TV shows where they come into the kitchen and smash everything to pieces kept alluding me during this process, because it seemed just as easy to unscrew the cabinets from the wall as it would smashing them? It must just make for good television, and probably a good youtube video👀 That and our cabinets were in pretty much new condition. New ‘old stock’.

group photo from the kitchen demo. also i little peak into the conditions of the cabinets. Pretty clean looking👀
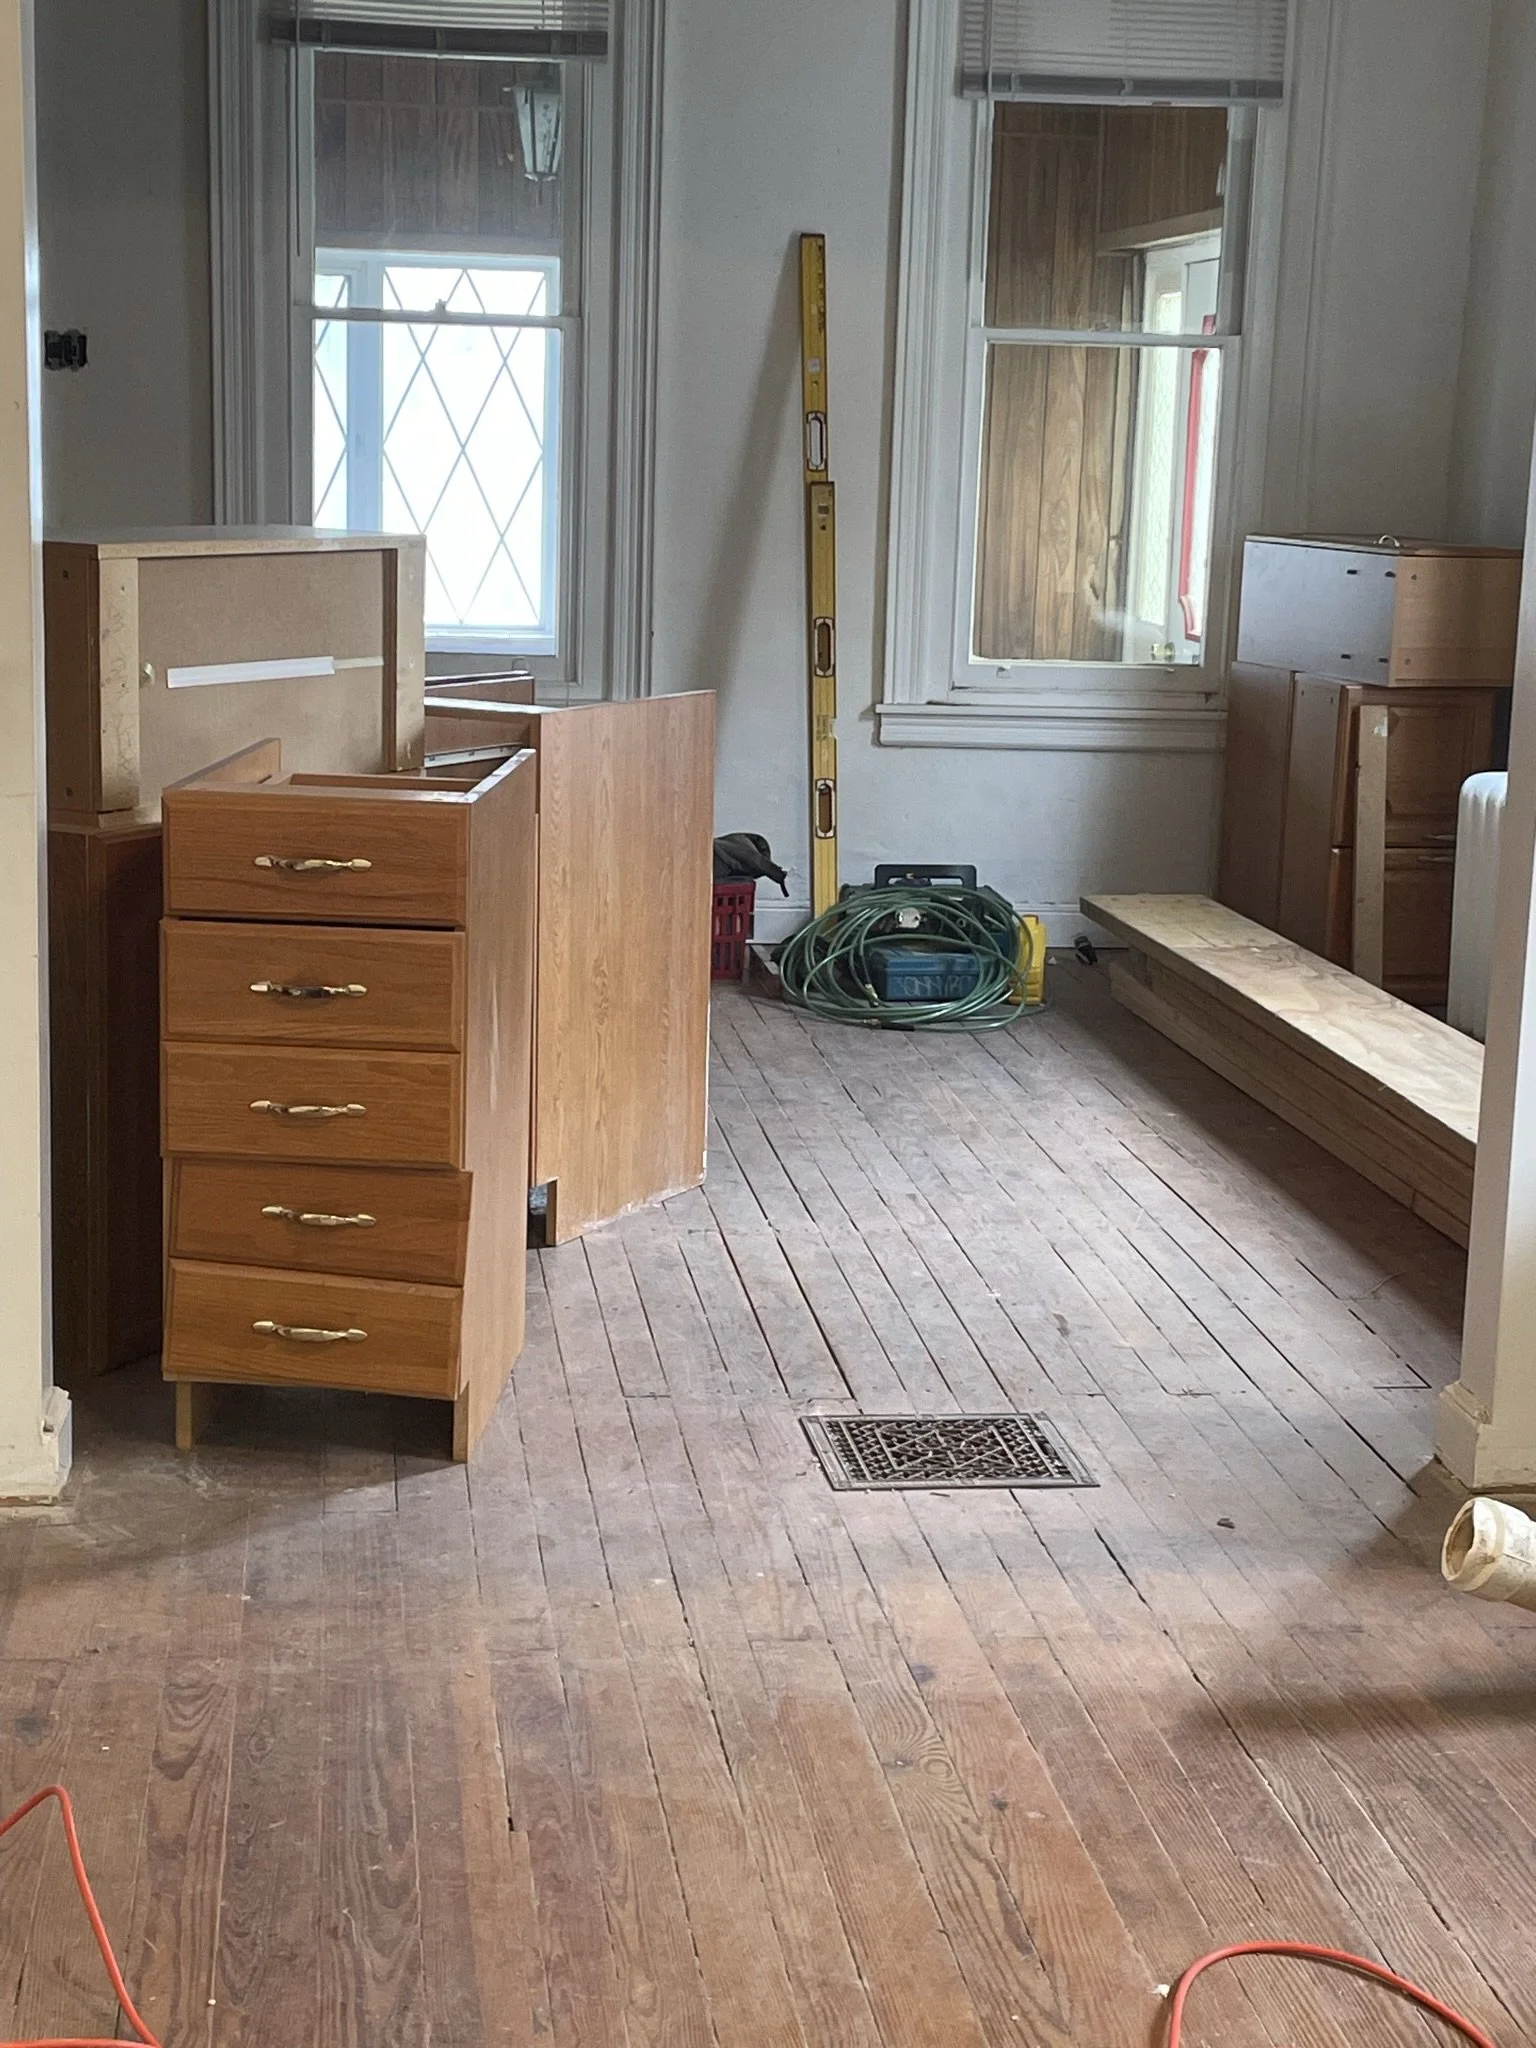
The living room filling with kitchen cabinets.
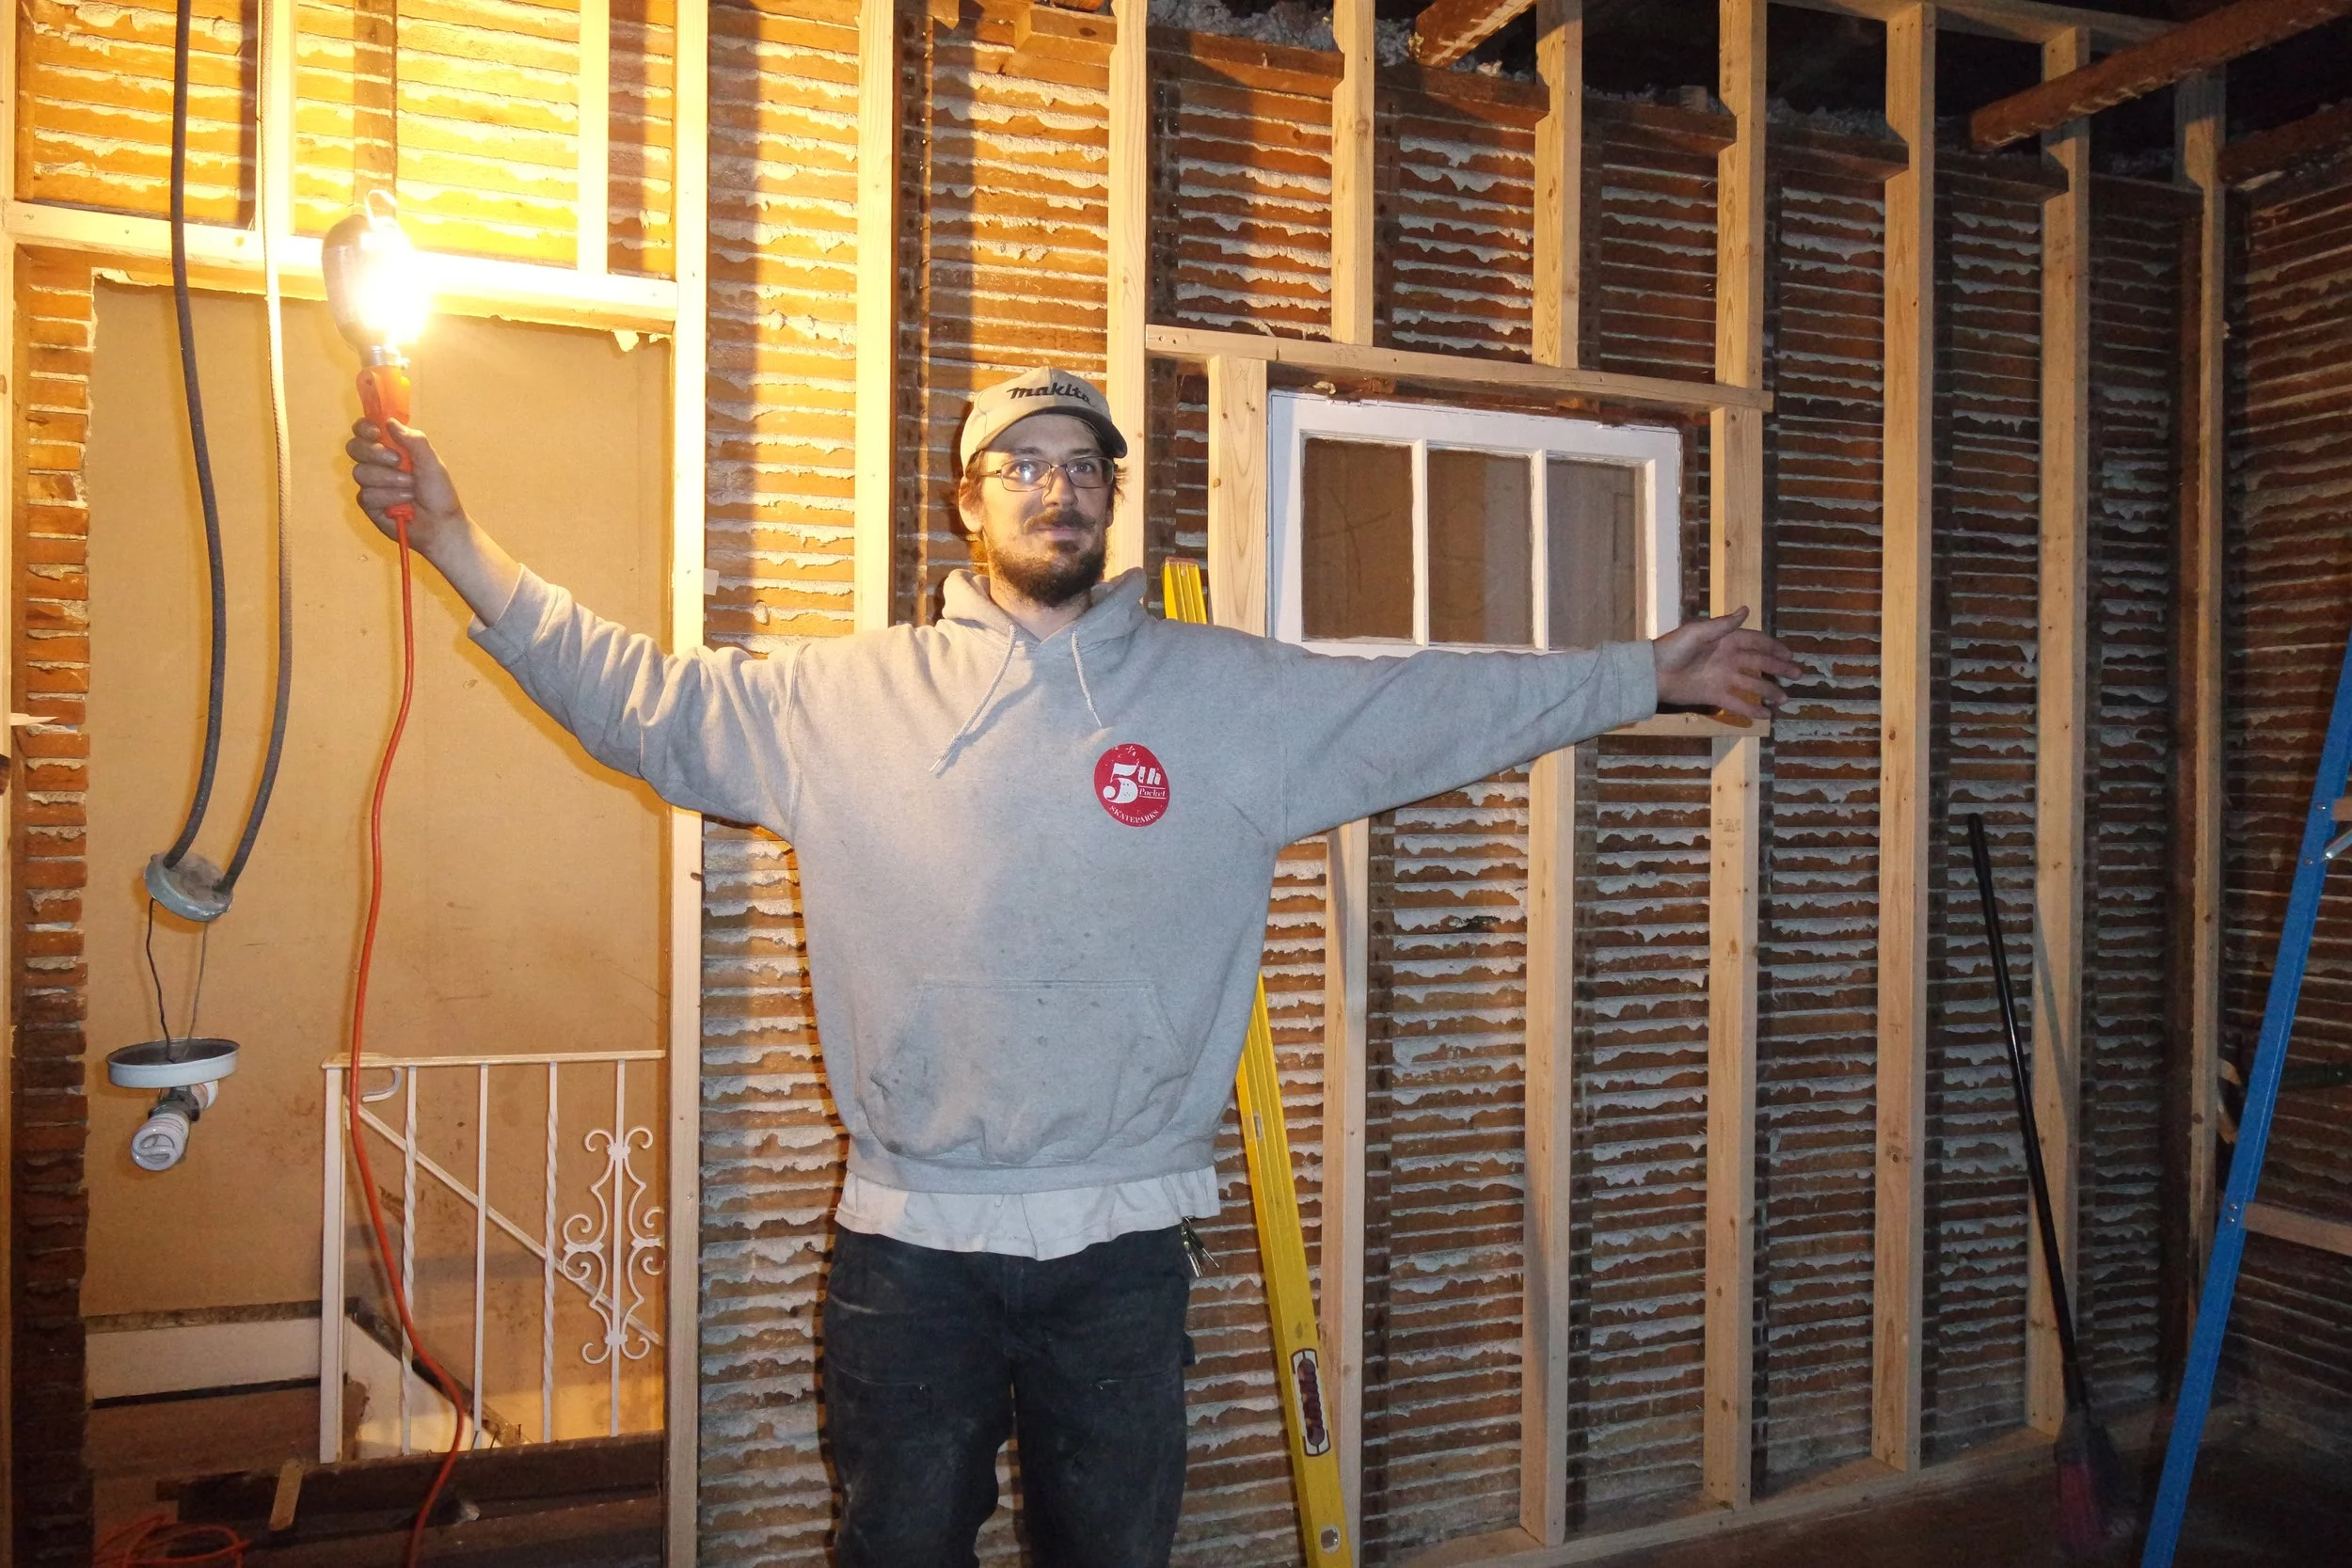
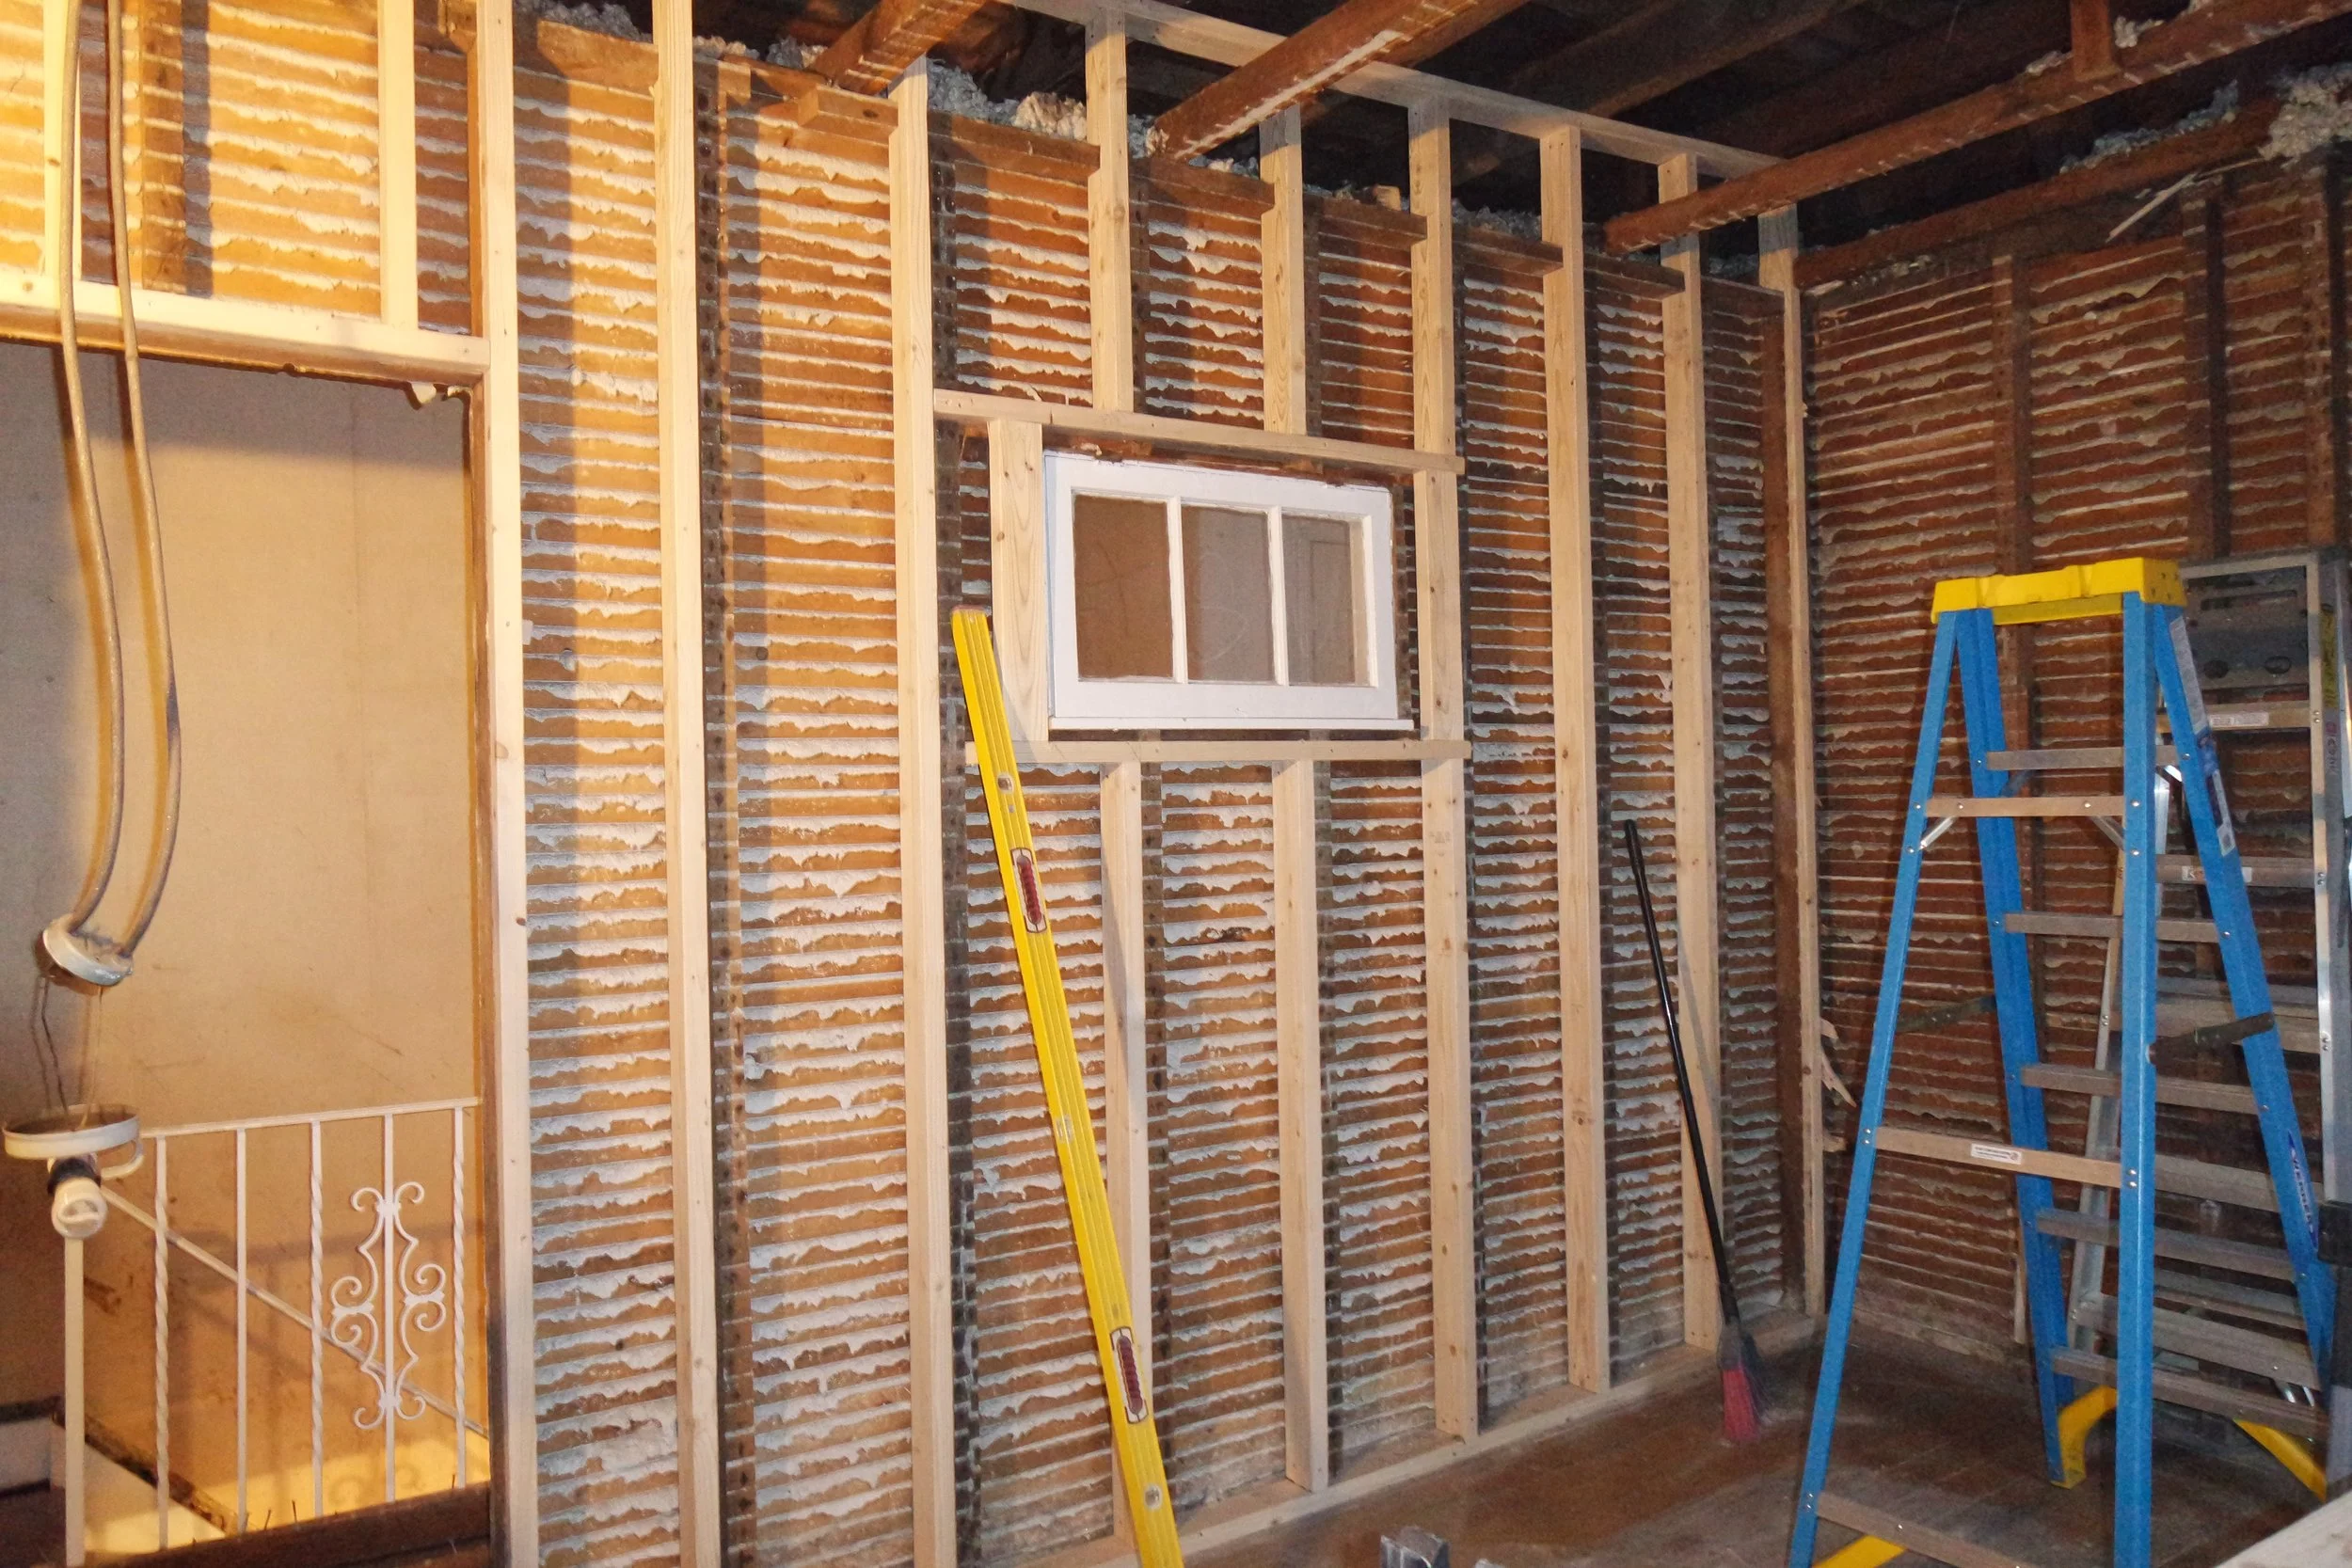
After safely removing and labeling all the cabinets, we started demolition on the wall. The upper half of the wall was plywood for some unknown reason, so that had to be cut out. The rest of the walls, and the mystery soffit was all drywall, so that was removed easily. We worked our way across the wall until we made it to our mystery soffit. After opening it up, it revealed that yes, it was 100% a structural wall built to hold up the cut joist above. Holy cow. Now I have to say, we bought this house from a man who passed away, and waved the inspection, so there’s no one to get mad at in this case, other than ourselves really, but this wasn’t something that caused me too much distress. Jon had been working on a job during the week and was able to use the extra materials from that job for this repair. I don’t know how much joists normally cost, but we saved money on the two that he brought home. So we can scratch our heads about this situation, but more or less I was very interested in the inner workings of home repair, so this was all exciting to me.

The soffit was so big I could fit inside.

He thought it would be funny to have his head cut off in all the photos, but i don’t get the vision here.
With the soffit revealed, we got everything ready to repair the joists. I explained this in my video, but it’s a lot, so let me try to simplify it. The way to fix a damaged joist is to attach a new joist to it, and hang the new joist to a board that has been attached to the foundation wall of the home. The board that is attached to the foundation of the home has to be attached using bolts that are secured with epoxy. So first we laid the ‘foundation attachment’ board, called a ledger. With the ledger in place, with the help of our friend, new joists were then hung from the ledger board, and attached to the damaged joist, known as ‘sistering’ the joists. Things were ‘temp’d’ into place in the video, because the proper hardware wasn’t available until monday, so I don’t have footage of jon installing the joist hanger.
Qcknd Home Reno Series |Episode 7
So this was the start of week six, but fell onto episode seven in the series. It starts off with a dump run from all the debris that was collected in the previous episode. It was so nice to have friends come over and help us with all of the demo, but now that most of the demolition is done, it was left to Jon and I to take all of the debris away. We didn’t even really think of renting a dumpster, I guess because we own a truck and can do it ourselves, or maybe because this is how we did it at our last house, where renting a dumpster wasn’t an option. It’s easy enough to pack everything into the truck. You have to be strategic, sure, but the hardest part for me is driving with such a large load in the bed of the truck. Every hill or sharp turn causes me to hold my breath until it's over, and that doesn’t even begin to cover all of the aggressive drivers. Every dump run takes a year off of my life, I swear, but we managed to get over a ton of debris out of the house, which leaves us a blank canvas to begin mapping out the new layout of the second story. I wondered it the house would be different with so much weight removed from the inside? Like, did the house breathe a sigh of relief? Our total cost was $128 dollars for the entire run, which I think saves us from renting a dumpster anyway, but I honestly don’t know the rates.

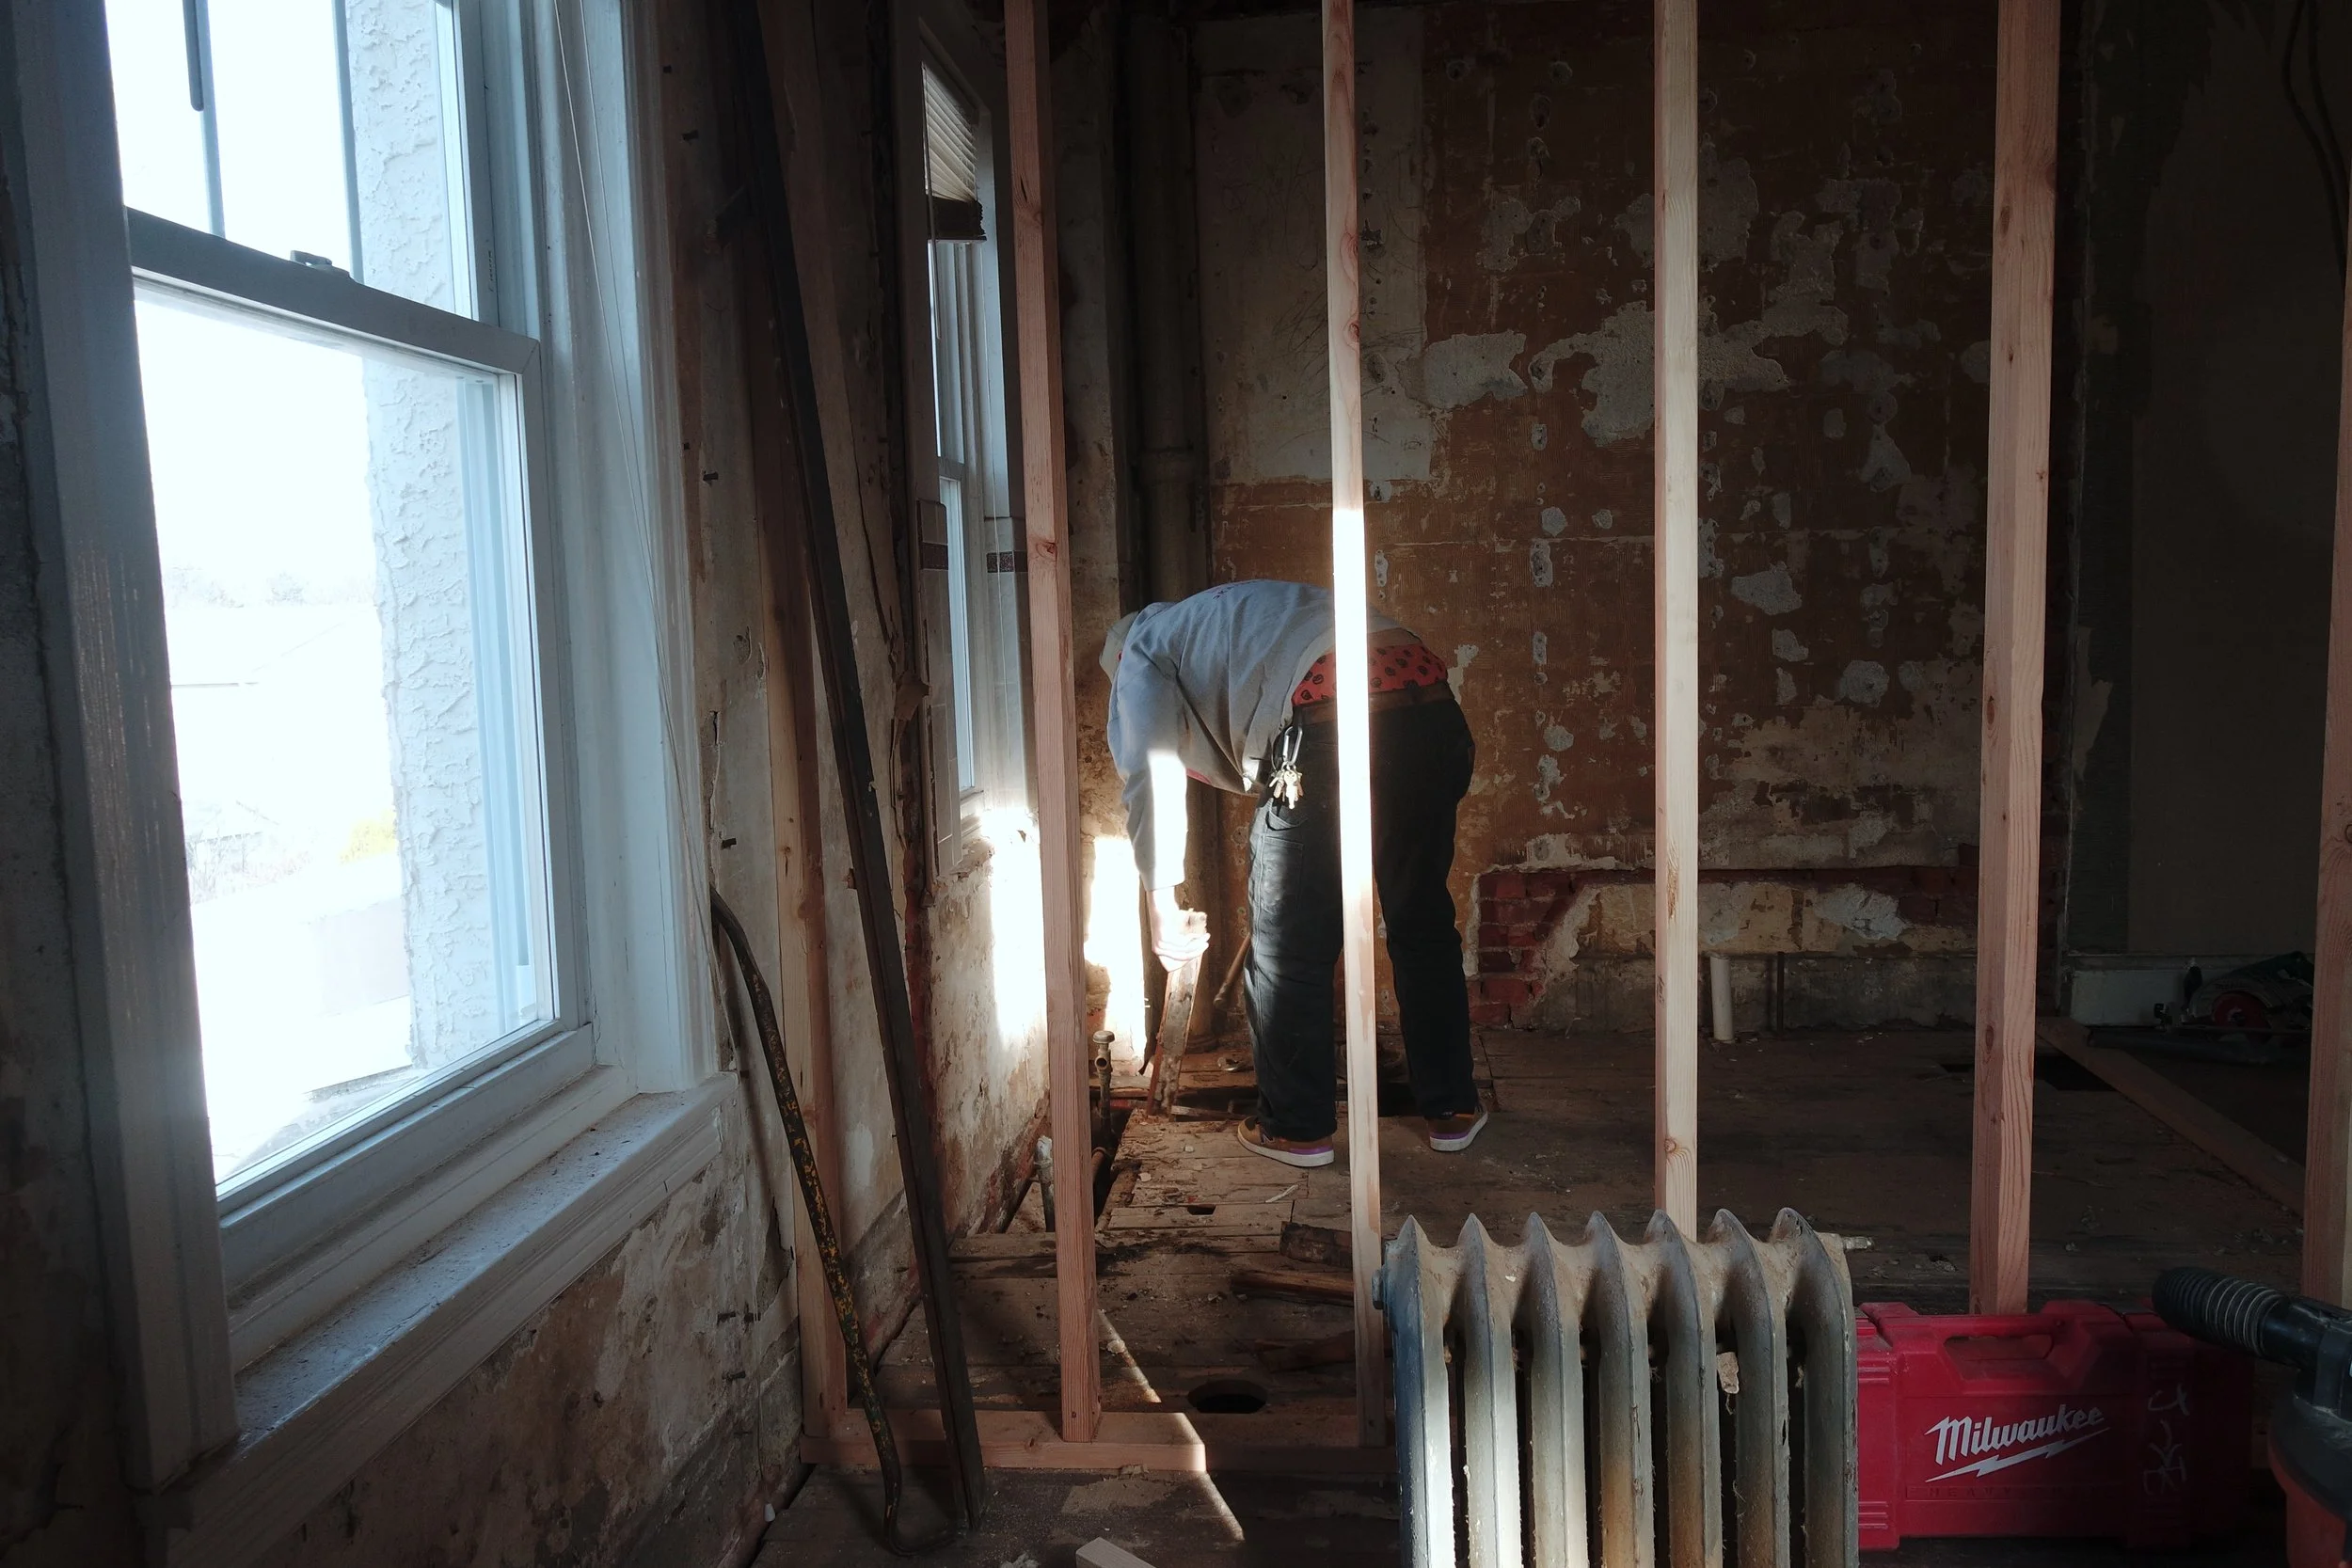
Overall, the dump run probably cost us about three hours of working daylight, which at the time of filming, is deep into the winter season. Still, we managed to get the main dividing wall framed between the bathroom and third bedroom. While I’ve watched it done plenty of times, this would be my first hands on experience framing a room. I explain it the best I can in so few words in my video, but framing is very math heavy. Honestly, I was very surprised that this much is involved in Jon’s daily work as a carpenter. I do yield all of our day to day math needs to him, but I didn’t know the extent of his expertise. I think most of us would avoid interacting with a fraction at any cost, so it took me a long time to be lead to water on this one. Like, I thought I could use a tape measure well enough, you know, 12 inches in a foot, etc…but when every fraction of an inch is important, I had to reluctantly ask for a refresher. We took turns paying for lumbar, which I think snapped my frugal self into gear right away, because after “inching”* a board, and watching it get thrown into the waste pile, I didn’t want to miss a single measurement again.
Studs are pressure fit into place, meaning they are cut to the exact measurement of the space, and forced tightly into the space with a hammer, then secured with a nailer. It was too soon in the process for me to feel comfortable using a saw, but to help the process move a little quicker, Jon would shout out measurements, and I would mark them on the lumber. He would then need to come down from the ladder to make the cuts, but I’m telling myself, it’s all baby steps. The looming deadline doesn’t help…but baby steps.

The next day was Sunday, and we woke up bright and early to get to work on framing the next room. Jon gifted me a tool belt, which I thought was sort of a funny guesture, but then he explained to me I need to keep my tools on me at all times. Pencil, measuring tape, speed square, pry bar, and hammer. Being treated like an equal, and not a shy baby deer made me feel like I was taking an equal part in the renovation. No i didn’t want to wear a belt, but when I understood why it was important, I felt more connected with the importance of my work. We were exhausted by this point, and Jon asked me not to film this day so I could focus. While filming the home renovation was very important to me, with my goal being to turn it into a youtube series, there are just some days where I don’t have the luxury of filming. We need to work fast and accurately, and filming always adds a layer of unconscious distraction, even if the camera is somewhere out of the way. I’m sad that there isn’t much footage of framing the office, because this was where I really perfected using a Speed Square, and mastering the measuring tape. Jon set up saw horses, so I was able to comfortably measure the lumber off of the floor, and he could easily make the cuts. We work again until it got dark, and I went home to enjoy a much needed bath.
Finally, in this episode, our plumber calls and lets us know he has a little free time, so we switch over to Plumbing Mode. Steve is our friend, and we want to respect the time he gives us, so we stop framing for the day and focus on bathrooms. First, our only working toilet was from, I don’t know, let’s guess the 80’s, or atleast, a time where water wasn’t considered a precious resource. If you remember in the 90’s when ‘low flow’ toilets came into vouge, or that episode of King Of The Hill about low flow toilets (I believe Hank is shy that he has to keep flushing for number two?), then you might remember a time before low flow toilets. Huge ten gallon flushes, or maybe more, I don’t know exactly what numbers our toilet was doing, but when Steve became avail, switching to a modern toilet was at the top of our list. We found one ‘new in box’ at the Habitat for Humanity store (a reclaimed/salvage store) with a matching sink for $75. When we got home Steve let us know that the sink we bought wasn’t compatible with the existing plumbing, but the toilet was installed without any problem. Replacing the sink is pretty low on our list, so we kept it as is. Another vanity sink will work with the current plumbing.

With Steve close by, we started to remove the bathroom flooring. This flooring was beyond salvaging, as it has clearly been cut up and haphazardly put back in literal pieces before, but still cutting it felt a little scary to me. We knew some sort of renovation had been done the bathroom at some point, and this was necessary to find out exactly what. Well, it was sort of the worst and strangest case possible. The joists are the interior support of the home. I think of them as the ribcage, but it’s much more accurate to consider them the entire skeletal structure. Joists go from one end of the homes structure to the other, and then flooring and everything else is put on top. They hold up literally everything. If you have a basement you should be able to down there and look up to see beams that go horizontally from wall to wall of your foundation. So when we opened up the bathroom floor, to our absolute horror, we saw that TWO joists had been cut. Not a deep notch, which like, isn’t cool, but still, but a full CUT. The rest of the joist was just dangling there without support! Literally just vibes had been keeping this joist in the air for who knows how long? Twenty years? Resupporting the joist is now our top priority. How much do they cost? Is this even possible? A false wall was built between the kitchen cabinets and the previous ‘original’ kitchen. When we ripped up the floorboards we could see a clear narrow passage that revealed the old wallpaper and flooring. This false wall likely was the thing holding up the joist, which meant we would have to tear down the entire kitchen to fix this. Our plan was to keep the kitchen to save a little money, and renovate it in a few years after we saved for a little while. But this discovery hurts big time. Stay tuned! and subsribe to my channel if you haven’t already!


Building a Library

Collecting books only became a hobby of mine recently, even though I’ve been interested in reading for most of my adult life, I had only picked up a few novels here and there, and frequently offloaded them to goodwill or friends. However, something suddenly switched in my mind, and I started gravitating towards graphic novels. Some stories I had watched the anime for and wanted to spend more time with the characters and world, and other aspects became more social. I would check out Youtube and see what Manga collectors were recommending and I wanted to see these books for myself. I would snoop around the isles of Barnes and Noble and think, “Oh yeah, Manga Sloth said his wife really enjoyed this series, maybe we have a similar taste.” A few weeks of this and I was able to sort of carve out my own interests, and then, as collecting goes, strategize my shopping behavior to find the best prices, retailers, box sets, and series. I will admit I enjoy collecting manga as much as I enjoy reading it, so there are plenty of books in my pile that I haven’t even read yet, but less on that and more on the ‘pile’ situation. While on my manga self-discovery journey, I accumulated more books than my flimsy little shelves could handle, and properly display.

My old shelving set up focused more on displaying treasures and had very little utility for book storage.
While a lot of the collectors I follow on social recommend various Ikea shelving units, I was drawn more towards track shelving that would be mounted to the wall and could be moved around, or shelves added. The inspiration came from midcentury modern shelving units (that I could probably never source authentically or afford) and the displays at the Manga Hotel in Tokyo. (https://mangaarthotel.com/)

Image from The Manga Hotel in Tokyo that was used as inspiration. (https://twitter.com/mangaarthotel)
My partner, carpenter, Car-Partner?? Originally told me he didn’t like track shelving and it looked cheap, but after describing some of the ideas I had, he changed his mind, and, for my Christmas present, made me these beautiful Birch shelves. He found the birch from a local lumber yard and routed the edges with a MLCS routing bit that he picked up from H Valley Tools. I left them unstained/untreated to really showcase the beauty of the natural wood. Plus I believe the lightness of the birch plays well with honey tones in the flooring. The tracks and brackets were simple ones that are usually used to closet units, measured to size (Track/ Bracket)*

Birch shelves with white tracks and brackets.

The birch has beautiful detail.
As someone who enjoys going into the book store without a plan, blind buying any book that appeals to me, I wanted to be able to capture that allure in my own library, without hindering any of the visual cues graphic novels use to appeal to potential readers. I thought I would borrow that strategy from book stores and try to display books facing outwards, towards the viewer, and without impeding on any of the artwork. So I mulled over book ends online, and couldn’t find anything that would match the aesthetic I was looking for. Of course I came across some Snoopy bookends on clearance that took all my strength to turn down, but the core element of graphic novels are to be seen! And plus, if this was going to work as a library for friends and family to participate in, I wanted to be able to appeal to them directly! This is when I started looking into acrylic stands for books. I have a few acrylic stands displaying my retro gaming hand-helds, and love the way they disappear, leaving your Game Boy to appear like it’s just standing up straight on it’s own. I said, “I need Chainsaw man to do that.” First I checked locally, and while I’m grateful to have a ‘Local Acrylic Guy,’ getting a custom order was really out of scope and budget of what I needed. However, if I ever expand into a bigger library, I might reconsider this option. So after taking some measurements, I just browsed Amazon for book stands, and book ends. I will link the ones I used, since there are a lot to weed through and i’m very happy with the ones I picked. Link* to clear bookends: https://amzn.to/3P8Dfd4
Link* to clear book stands: https://amzn.to/3QYQfn3
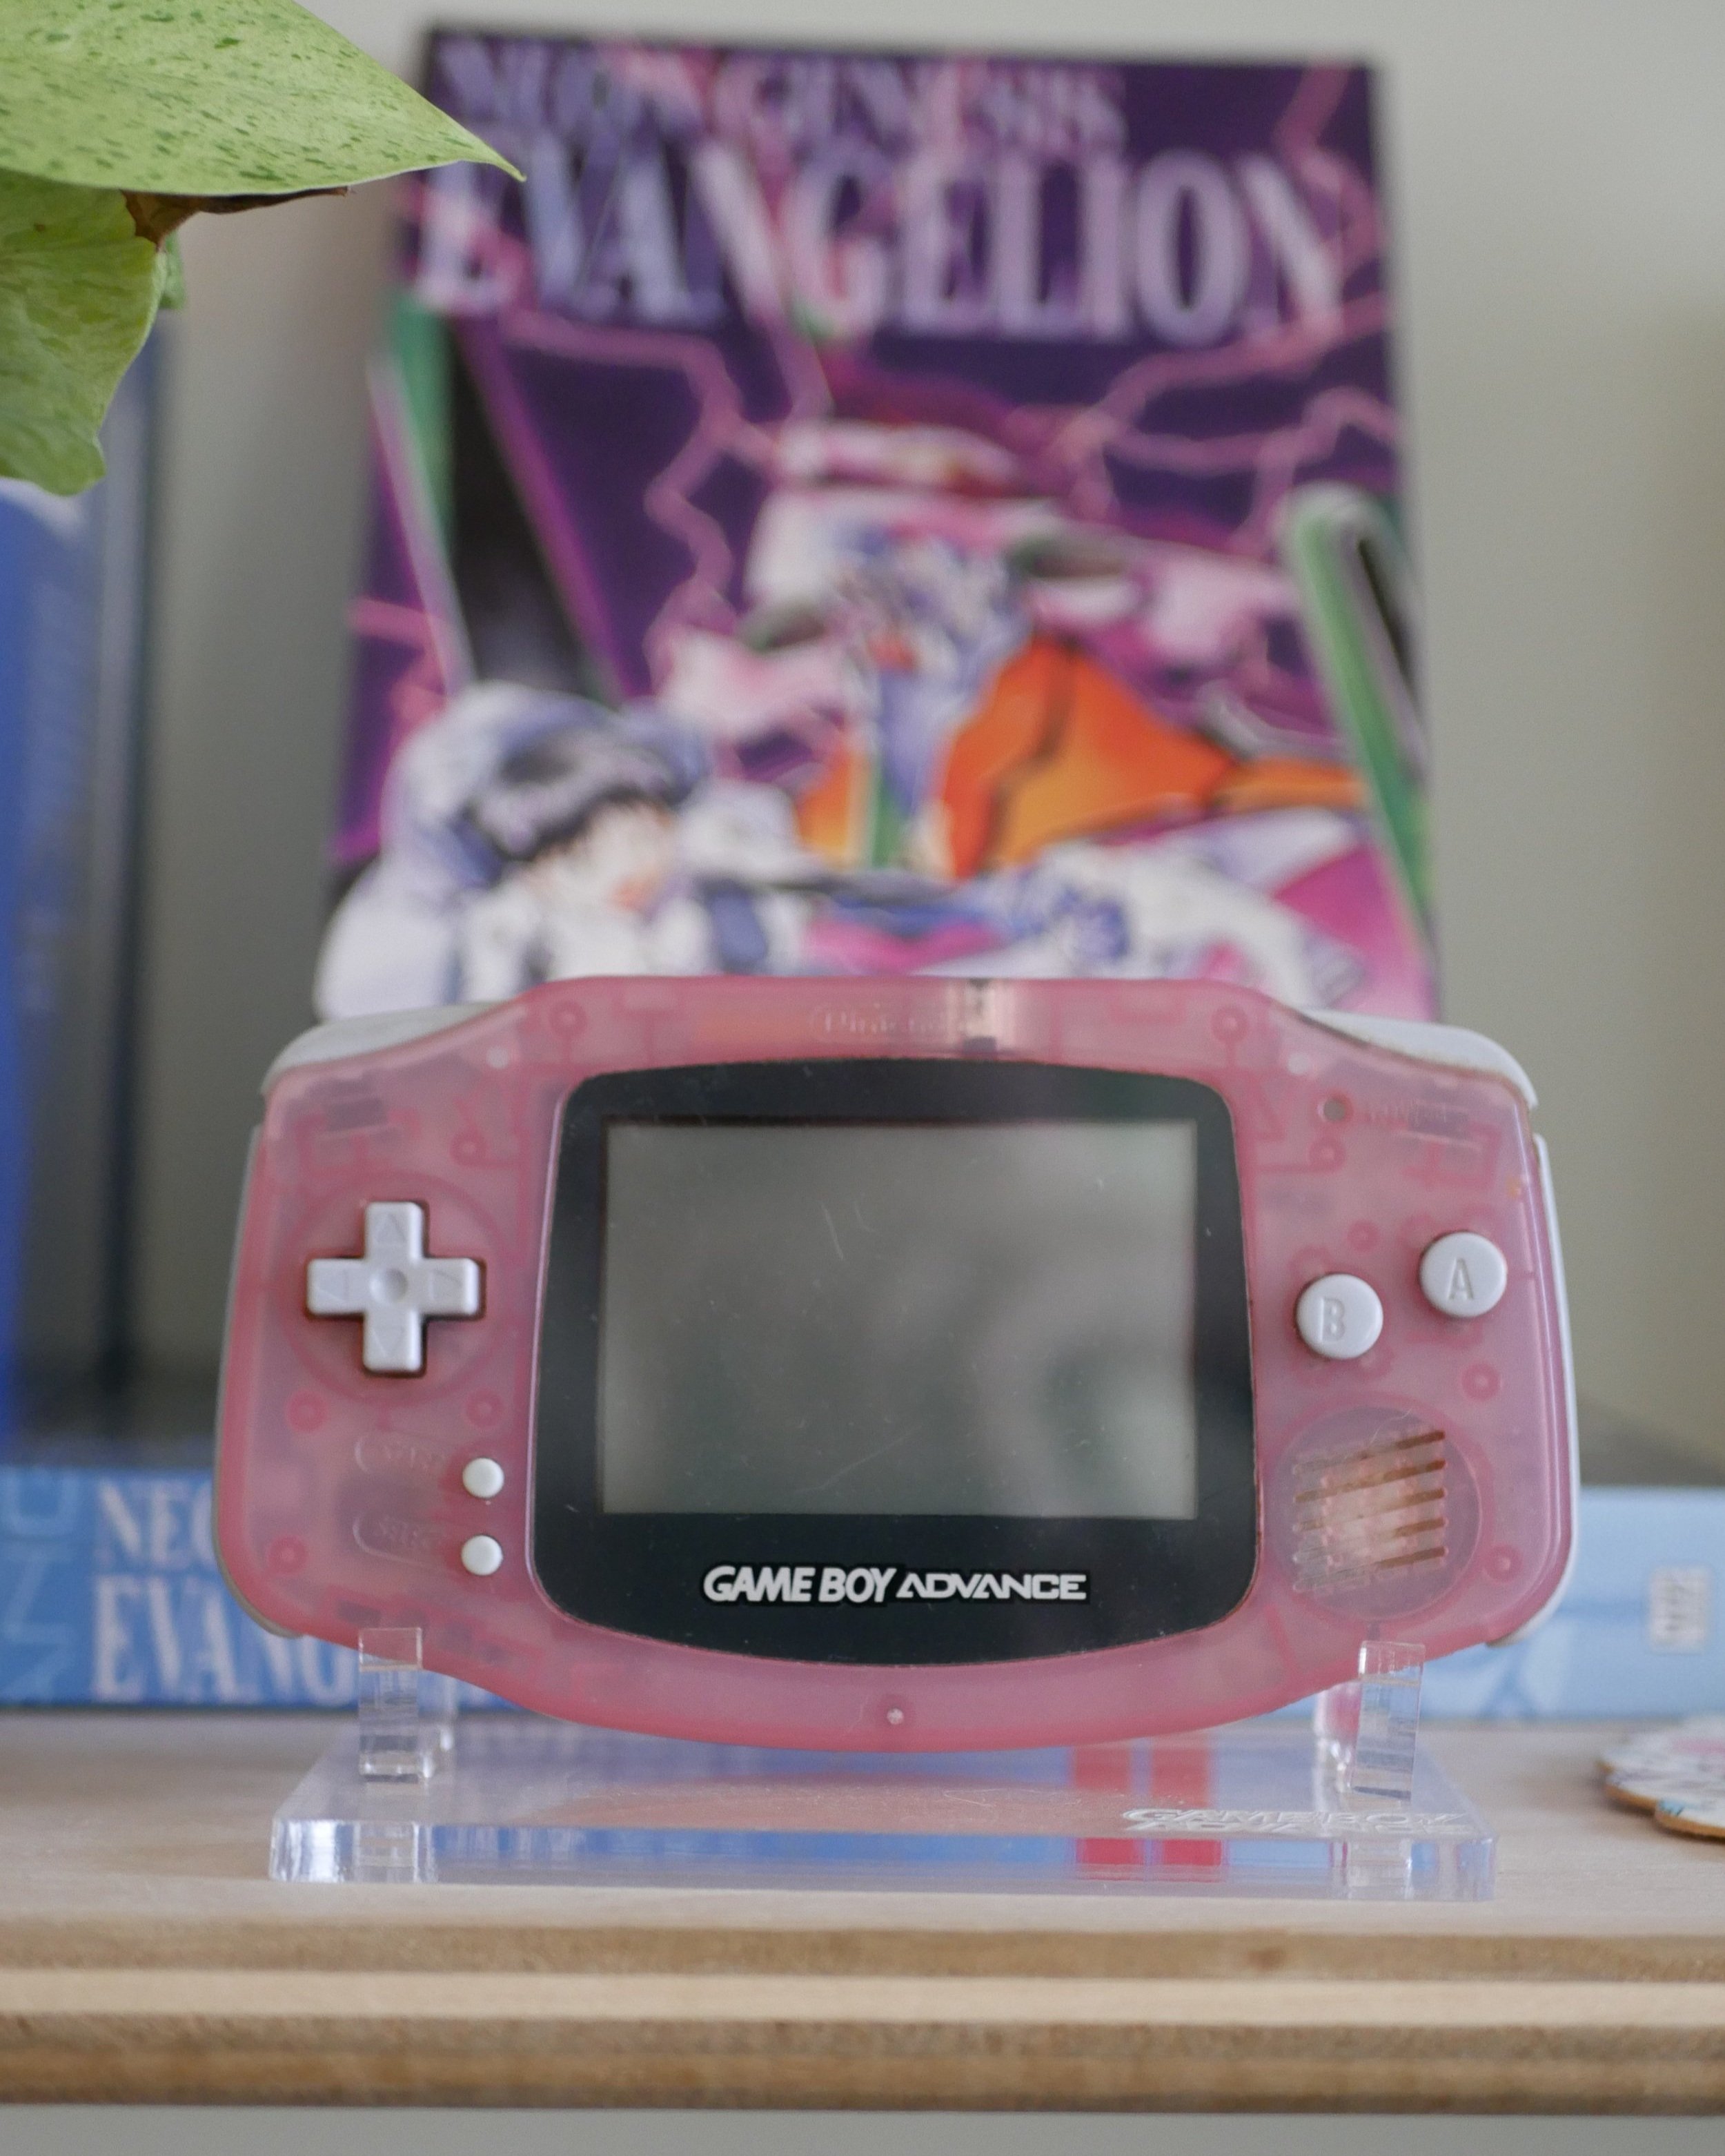
Game Boy Advance displayed on clear acrylic stand. (stand by Rose Colored Gaming)*

Clear book ends allow for the spine and cover to display this clever art from Shuzo Oshimi’s Flowers Of Evil.*

Chainsaw Man displayed on clear acrylic stand.
After that I was just putting the books on the shelves! I organized my books completely by how they made me feel, with some loose categorizing of Shonen and Shojo themes, but alphabetical by title or author was sort of thrown completely out of the window. While my intent was to appeal to others, I felt that by organizing them by how I felt about each story, I found I could be represented as the collector, and tell my own subtle story through my display. Manga I put within reach, since it’s more quickly read, and my fiction I put on the top shelf, as it’s a more weighted decision to pick a novel, and, you know, grab a step stool in order to reach one. I made vignettes of popular titles, and my favorite series at eye level to make a statement. Like starting a painting without a plan, I just let the books speak to me, and placed them where they felt best, and I’m happy with how everything turned out.

Adding some plants and décor to break up the books and create deliberate sections.

ambient lighting helps create a cozy and inviting atmosphere.
While it might not be much of an actual library (I believe the definition of a proper home library is a thousand books? And a slidey ladder?) This is a space that has brought me so much practicality and also visual pleasure. Being able to pick from my curated selection of books, as well as continue to collect with much more clarity and purpose has really refocused my goals as a manger reader and collector. With an established library, I find myself rereading favorites, weeding out ‘eh’ titles, lending to friends, and finally converting my partner into a manga reader. (AAAA!!!!)
Thank you for reading about my bookshelf journey! Follow me on social for more juicy manga pictures, and drop me a book recommendation!

the collector’s collection :)
*affiliate links